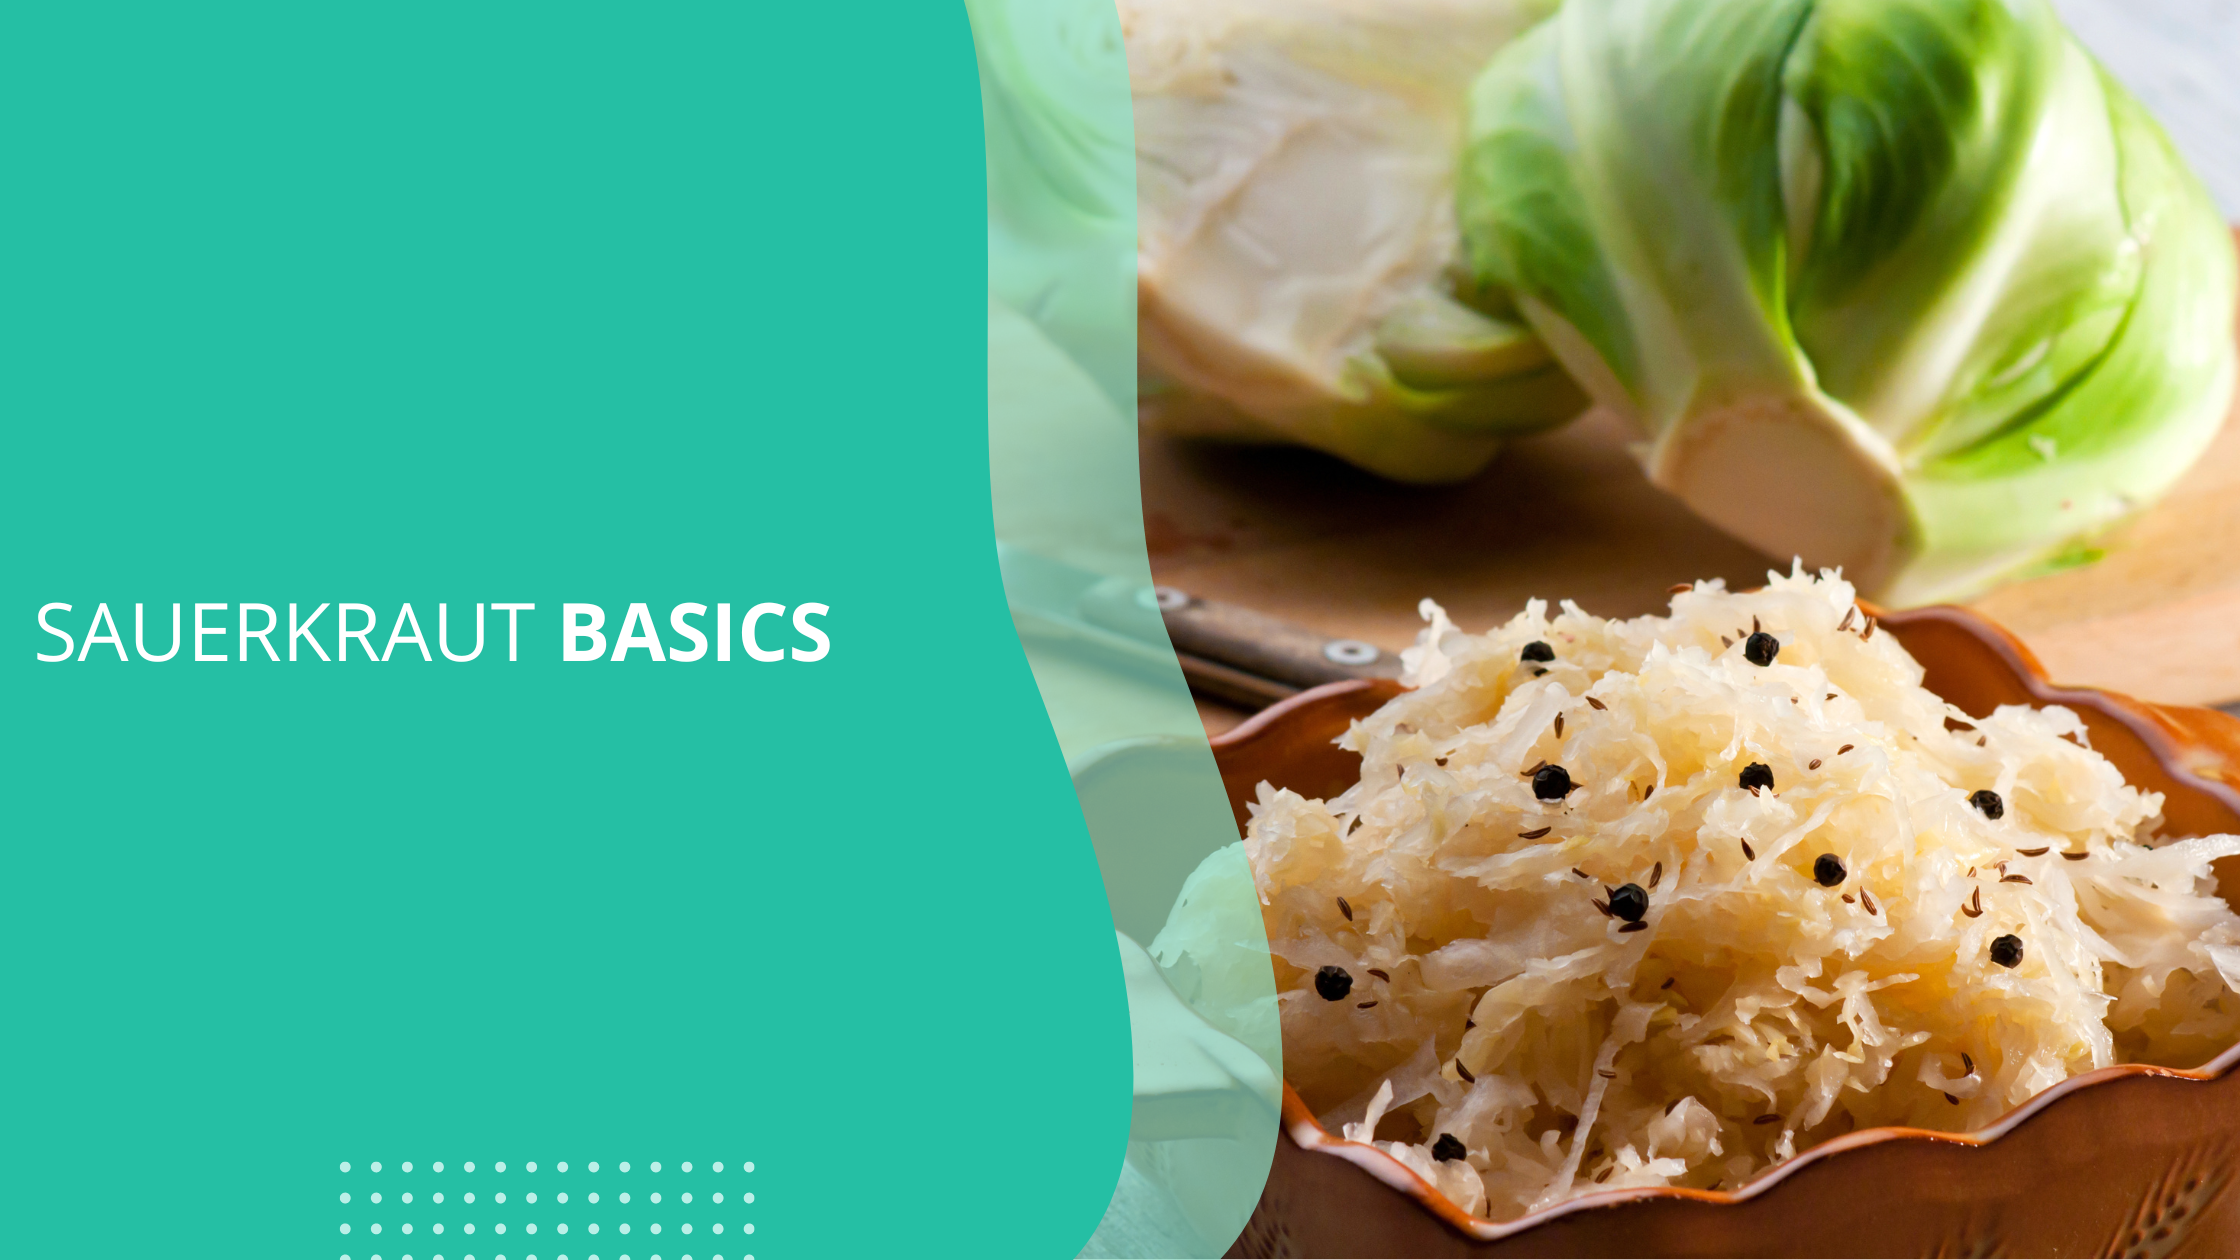
Making sauerkraut or any fermented vegetable can be fun, nutritious, and rewarding.
A few pointers will help you achieve success
- Use filtered or bottled water- Tap water contains antibacterial agents to inhibit harmful growth of bacteria. The same antibacterial agents kill only harmful but also beneficial bacteria.
Well water needs to be filtered also. It can contain naturally occurring minerals or even bacteria that can spoil the ferment.
- Salt- make sure your salt doesn’t contain anti caking agents(read label- here is a list of anti caking agents on this website). Most of the time you are able to just read the salt ingredients and figure it out. There should be nothing but salt listed as an ingredient. Non iodized salt is best- Himalayan, kosher or table salt are the best options for your salt. Salt helps curb the bacterial overgrowth and regulates fermentation process. For sauerkraut a 2% salt brine is needed. Other vegetables call for varying percentages. Handy brine calculator can be found here: The probiotic jar. Or, you can add 3 tablespoons salt to every 5 lbs cabbage. Personally, I have never weighed salt, just added salt to the cabbage
- The higher the vegetable quality the more success you will have– When shopping for vegetables to ferment, try to pick organic, or spray free vegetables. If able, locally sourced cabbage is best. If you are not able to find organic or spray free cabbage the next best thing is to remove and discard first few outer leaves. This will remove a good portion of chemical contamination that can prevent successful fermentation.
- Clean all items that come in contact with cabbage- this includes your fermentation vessel along with knives, cutting boards and hands. Thoroughly wash knives and all items that will come in contact with the cabbage. This practice helps prevent introducing bacterial contamination into your sauerkraut which can ruin all your hard work.
- Adequate storage area while it ferments and heat- Sauerkraut ferments best in room temperature (62-75 degrees) and no direct sunlight area of the home. A kitchen cupboard or on a counter out of direct sunlight is some areas that work well.
- Patience- Sauerkraut goes through 3 stages of the fermentation process to achieve the probiotic and enzyme rich delicious tasting product. This process takes at least 3 weeks, If the room temperature is cooler this can take longer. The longer the cabbage is allowed to ferment the more healthy probiotic bacteria are in the product.
The stages of fermentation (these days are approximate)
Sauerkraut can be store for years if stored in a cool, dark environment
Stage 1 Days 1-5, the start of lactic acid fermentation.
Salt tolerant bacteria produce carbon dioxide. This transforms the fermentation vessel into an anaerobic environment. They break down available sugars to produce lactic acid, acetic acid (vinegar), ethyl alcohol, and mannitol, along with carbon dioxide, which are the bubbles you see floating to the surface along with brine being pushed out of the jar. The carbon dioxide to helps create an anaerobic fermentation environment by displacing any trapped oxygen.
Stage 2 Days 5-16 This phase starts once the bubbles have subsided
Lactic acid production takes place. Lactic acid acts as a preservative, supports digestion, inhibits the growth of harmful bacteria, increases the bio-availability of Vitamin C, produces enzymes, and much more
Stage 3 Days 16- 21 Ph drops and health promoting bacteria continue to flourish
The sauerkraut continues to age, and the ph drops to between 3.1 and 3.7. This acidic environment helps preserve the sauerkraut and allows the growth of the health promoting lactic acid bacteria.
Lets get started
Assemble supplies
You will need:
- Cabbage
- Water
- Cutting board
- Sharp knife
- Salt
- Scale to weigh salt (if you prefer to go that route)
- Kraut pounder (or clean fist to pound cabbage into the vessel)
- Fermentation vessel- this can be as simple as a clean mason jar or as elaborate as a fermentation crock- I tend to use my canning jars-they are inexpensive so I can make several ferments without breaking the bank.
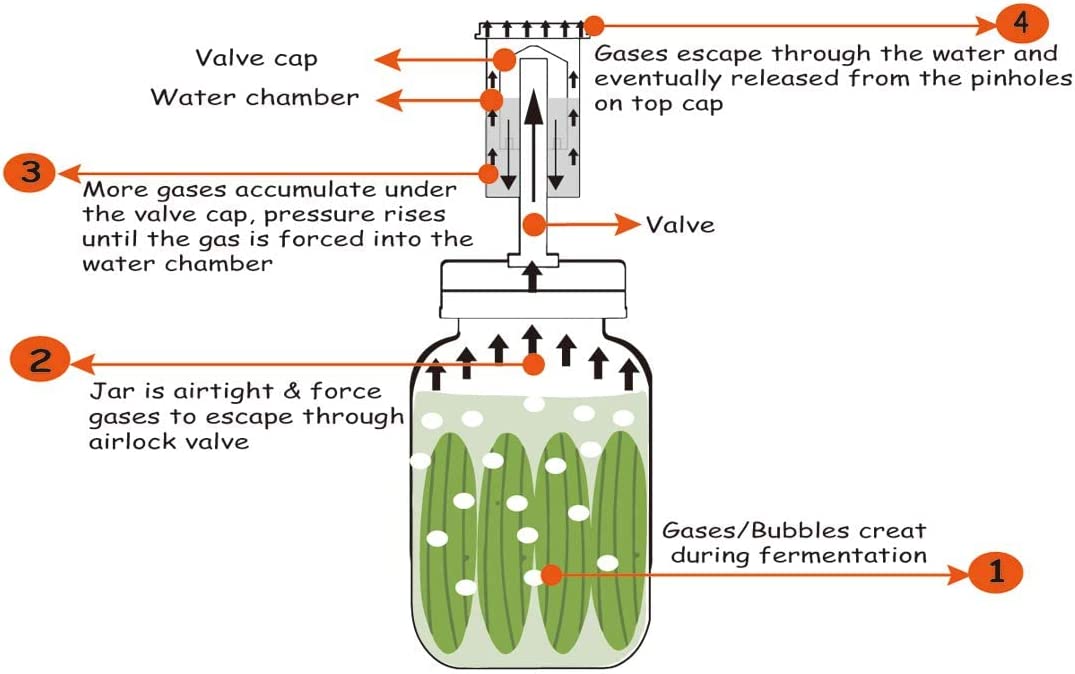
- Fermentation is an anaerobic (without air) process. In order to avoid spoilage, the cabbage must be completely submerged under liquid. Some people use glass fermentation stones. Others use bubble airlock sets, which is my personal preference. The glass stones tend to shift and allow air to the cabbage. The airlocks create an anaerobic environment if they are used properly. Another method is to used cabbage leaves on top of the packed cabbage, press firmly. Make sure cabbage is submerged, add stones or other weights.(a plastic bag tied off with water can be used as weight also- I have used the is method on occasion)
To make sauerkraut
The very best way to get started is to watch this video on “The complete beginners guide to fermenting foods at home”
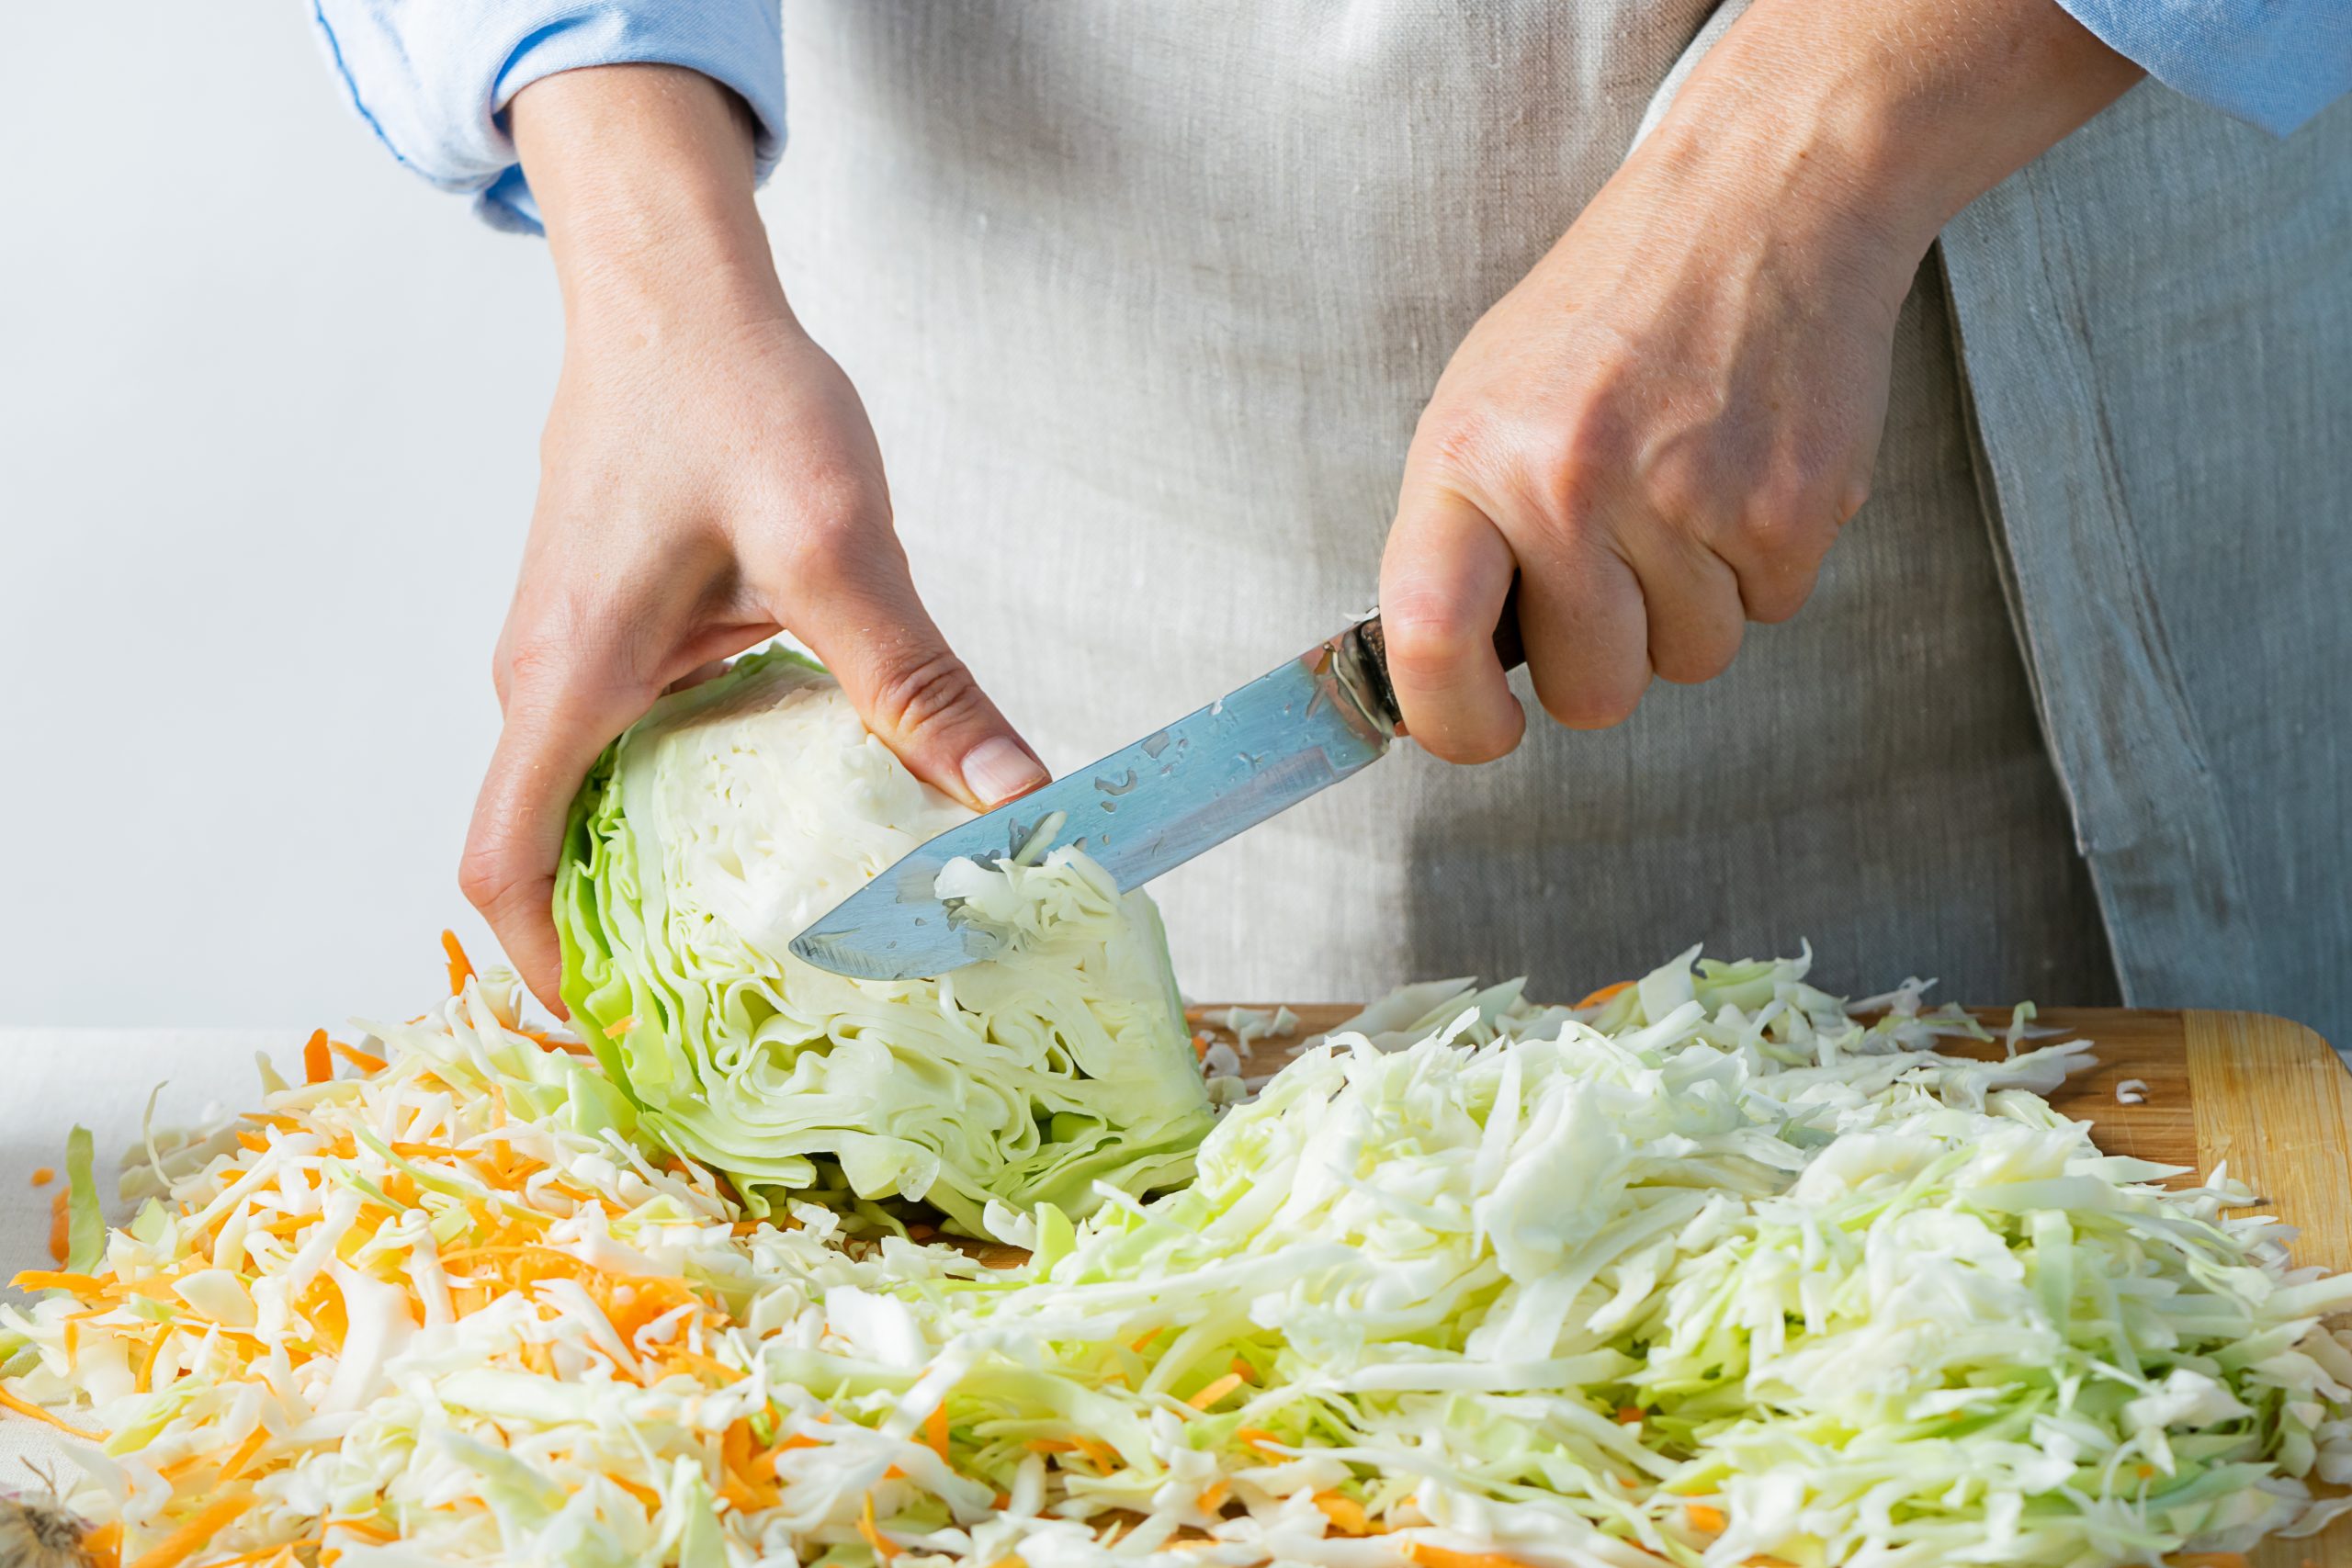
- Thinly slice cabbage. You can add some carrot or a bit of garlic or hot pepper for flavor and color. I personally use the 3 tablespoons to 5 lbs cabbage method. A more precise way to ferment is to make the 2% brine solution. Link above to calculate.
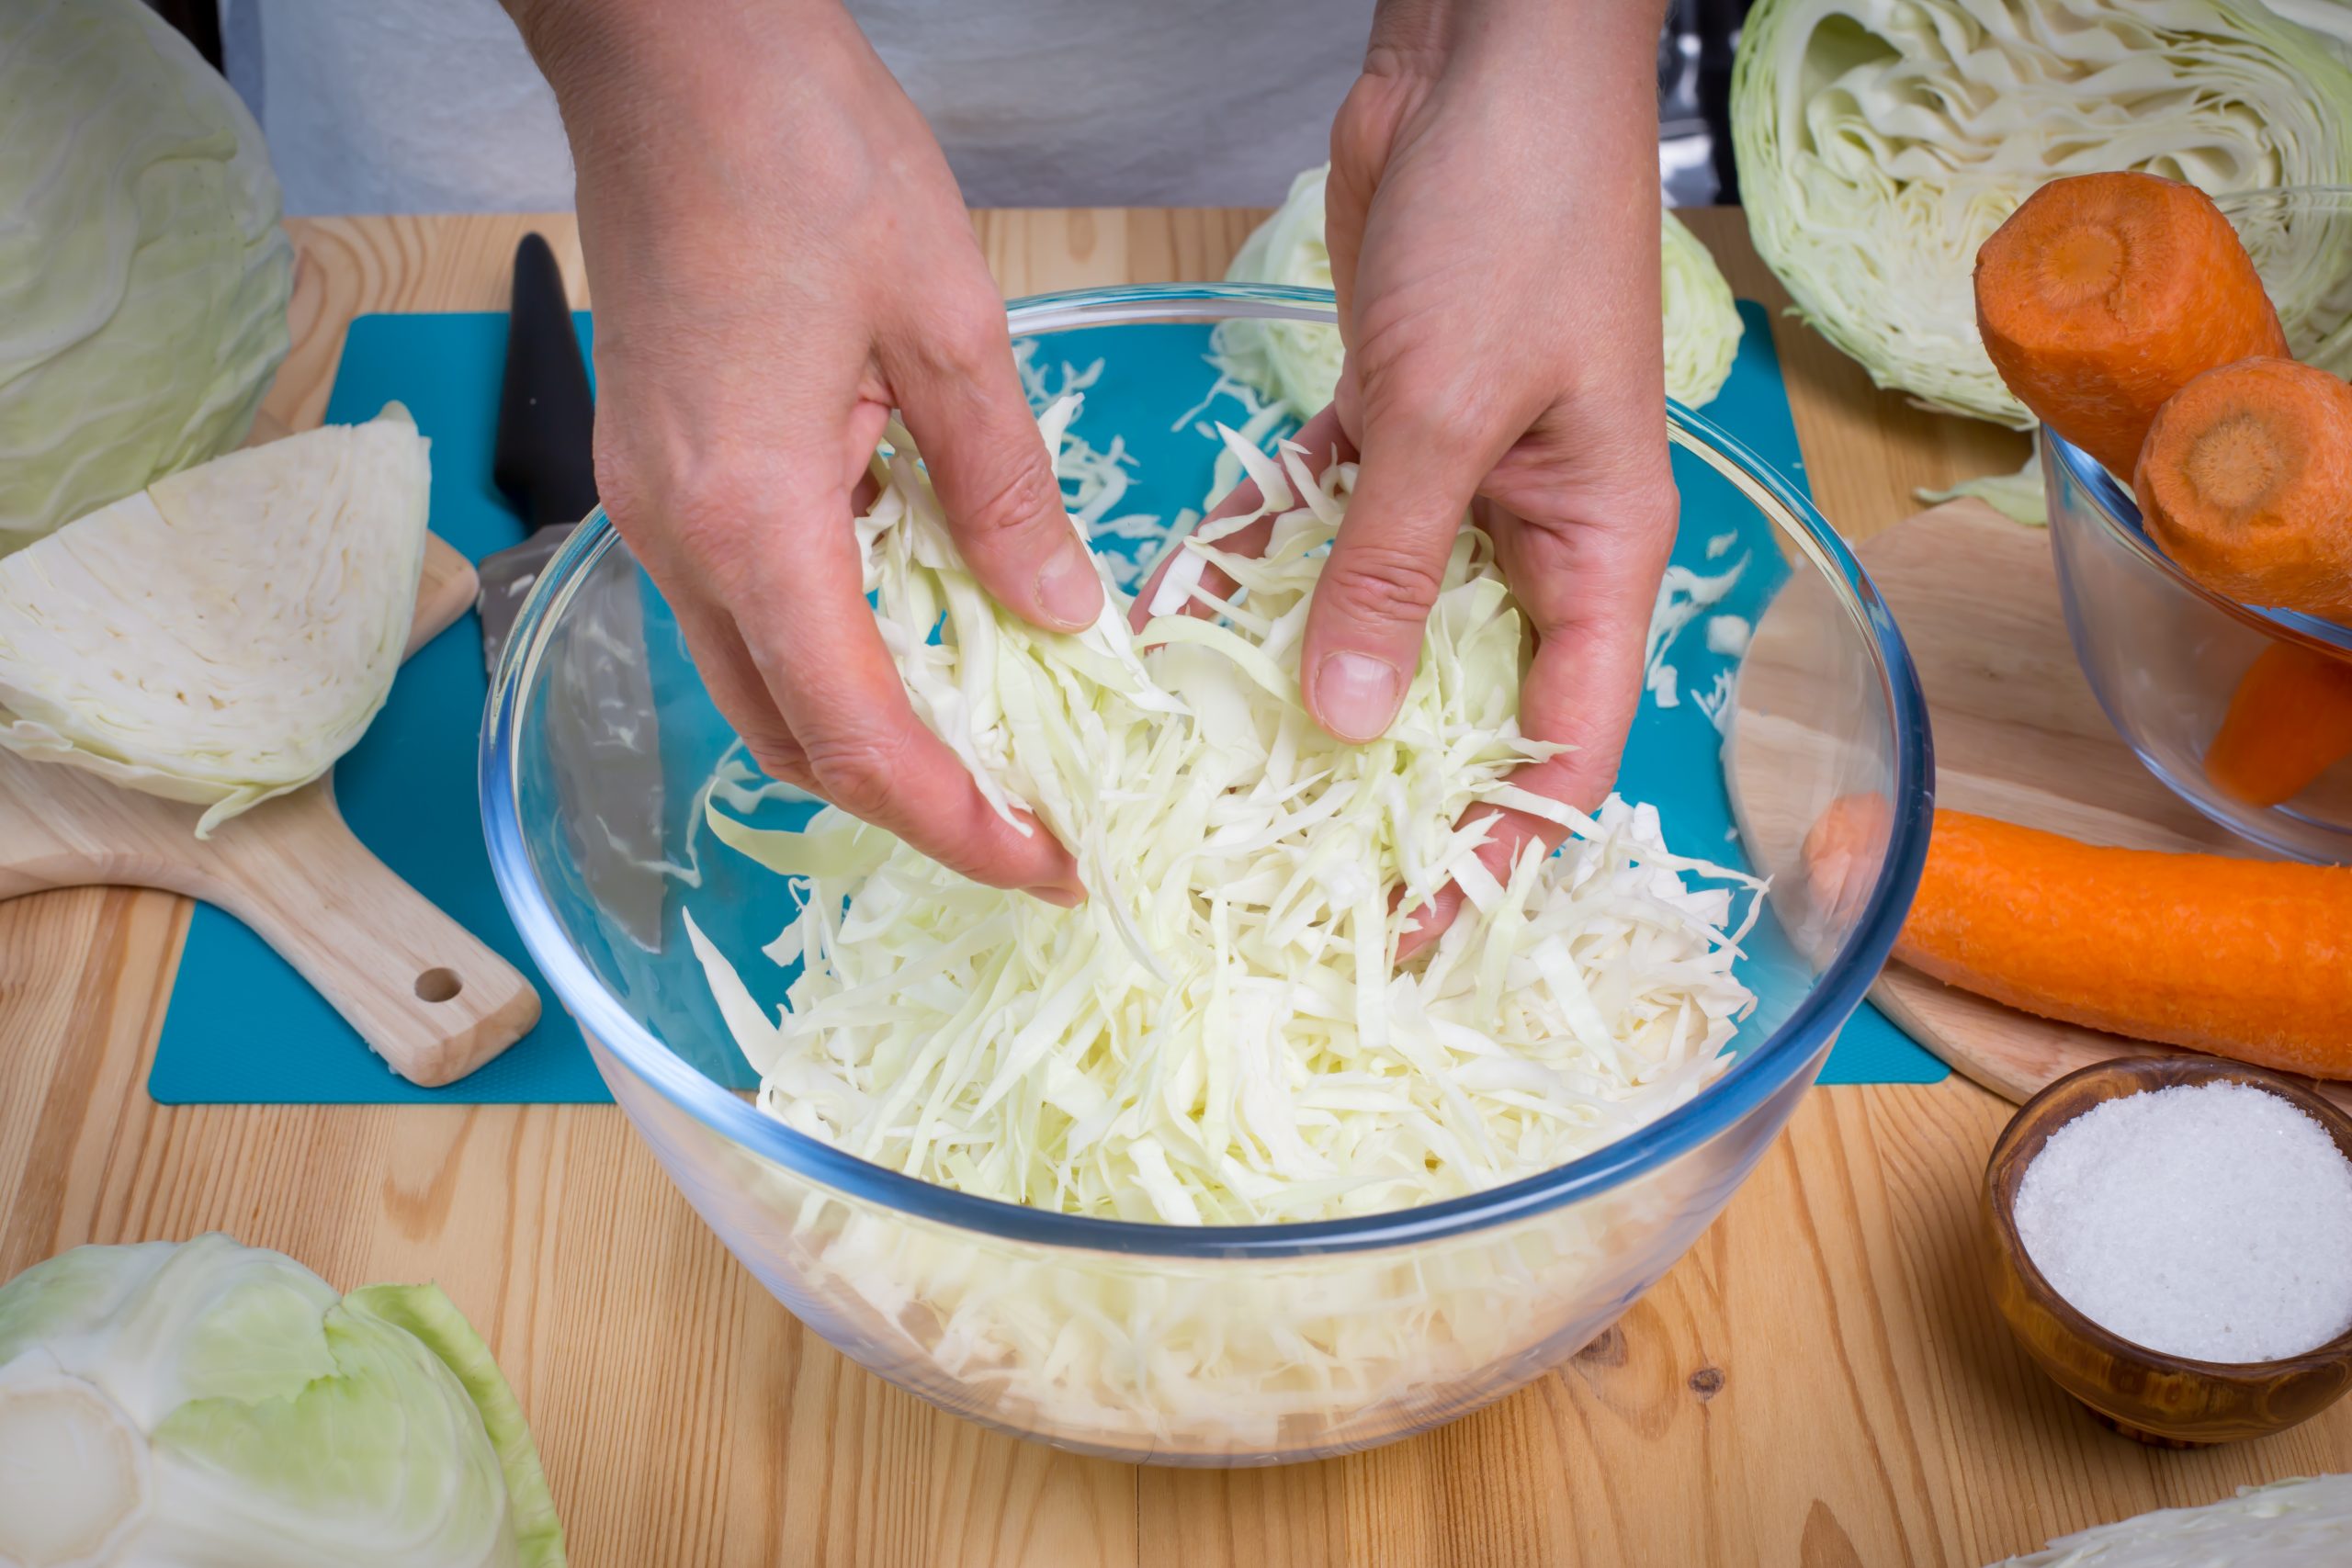
2. Add salt, massage cabbage, let set in bowl for 20 minutes to 1 hour. Liquid will form in bottom of vessel.
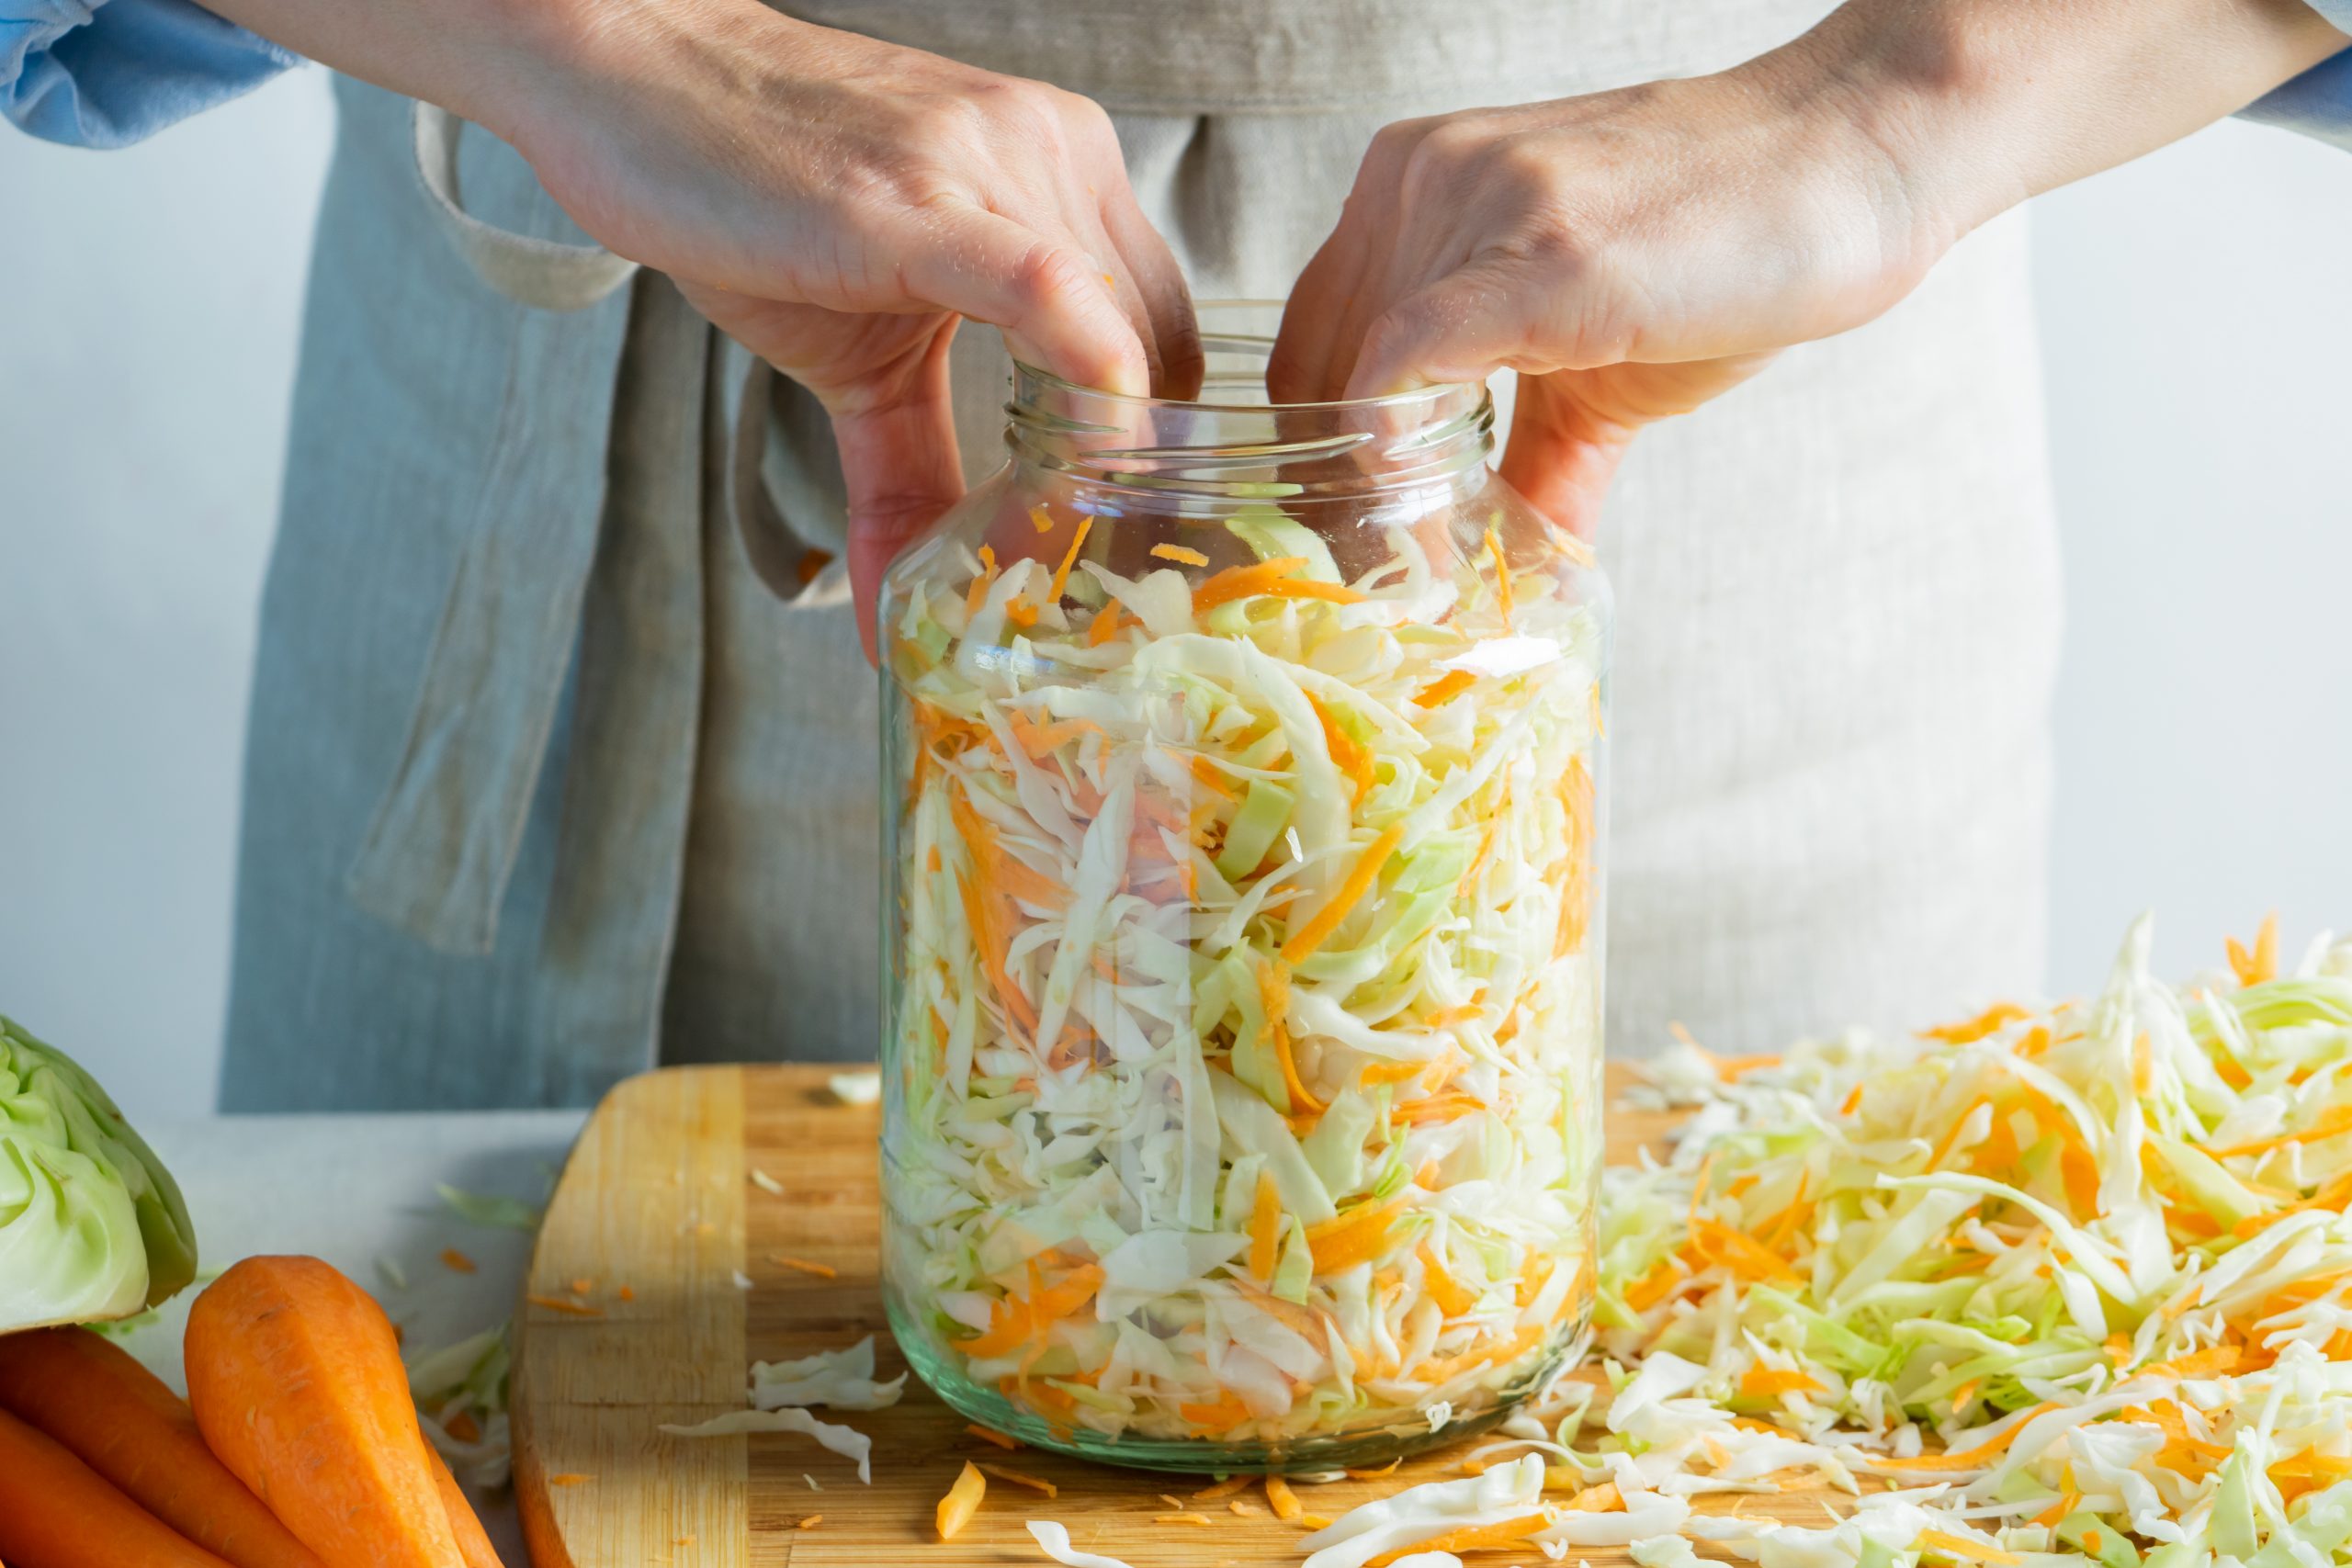
3. Tightly pack cabbage into fermentation vessel, add the liquid that formed from massaging the cabbage. If needed add 2 percent salt brine to thoroughly cover the cabbage. Press down the cabbage, making sure there ae no air pockets trapped in the jar.
4. Add airlock or stones. Make sure that the cabbage is thoroughly submerged Place vessel in a shallow bowl or on a plate to catch any overflow from fermentation bubbles for the first week or so.
5. Set in a room temperature environment, away from direct sunlight.
6. Check daily to make sure the cabbage is submerged under the liquid. If needed, add brine to keep submerged.
7. The sauerkraut should be ready after 3 weeks. Store in refrigerator. This will slow down the fermentation process.
Once you have mastered sauerkraut, there is a whole world of fermented foods out there to try and enjoy. From kefir to fermented condiments (catsup, mustard, pickles) to kombucha and more.
Warning: Fermentation can be addicting!
- Brooke Lounsbury
Medical Content Writer
Lifesaving Medications
Recent Posts
Keeping you informed and safe.
FAQ: Our most commonly asked questions about Jase
If you’re considering Jase, chances are you’ve paused and thought, “This makes sense, but I still have a few questions.”You’re not alone. Here are the most common ones we hear, answered plainly. Is this really doctor-prescribed? Yes. Every Jase order is reviewed by a...
Medical Readiness: What Really Kills First
When Disaster Strikes, It’s Not Hunger or Thirst That Takes the First Lives In every disaster zone, from hurricanes in the Caribbean to war zones in Ukraine, the pattern is the same. People worry about food and water, but it’s infection that kills first. A small wound...
Exploring Dr. William Makis’ Hybrid Orthomolecular Cancer Protocol: Focus on Ivermectin and Mebendazole/Fenbendazole
Exploring Dr. William Makis’ Hybrid Orthomolecular Cancer Protocol: Focus on Ivermectin and Mebendazole/Fenbendazole *Disclaimer: This article is for educational purposes and does not constitute medical advice. Always seek professional guidance.* In the evolving...

